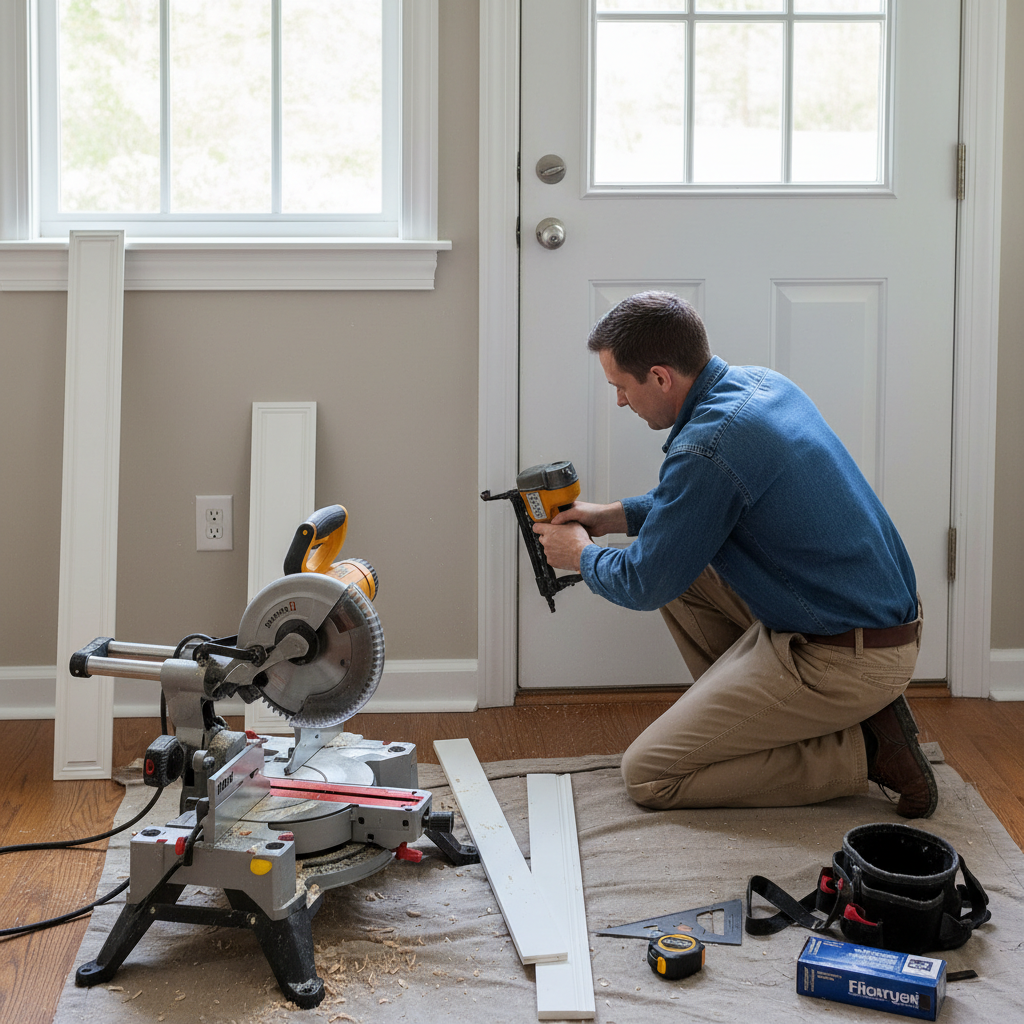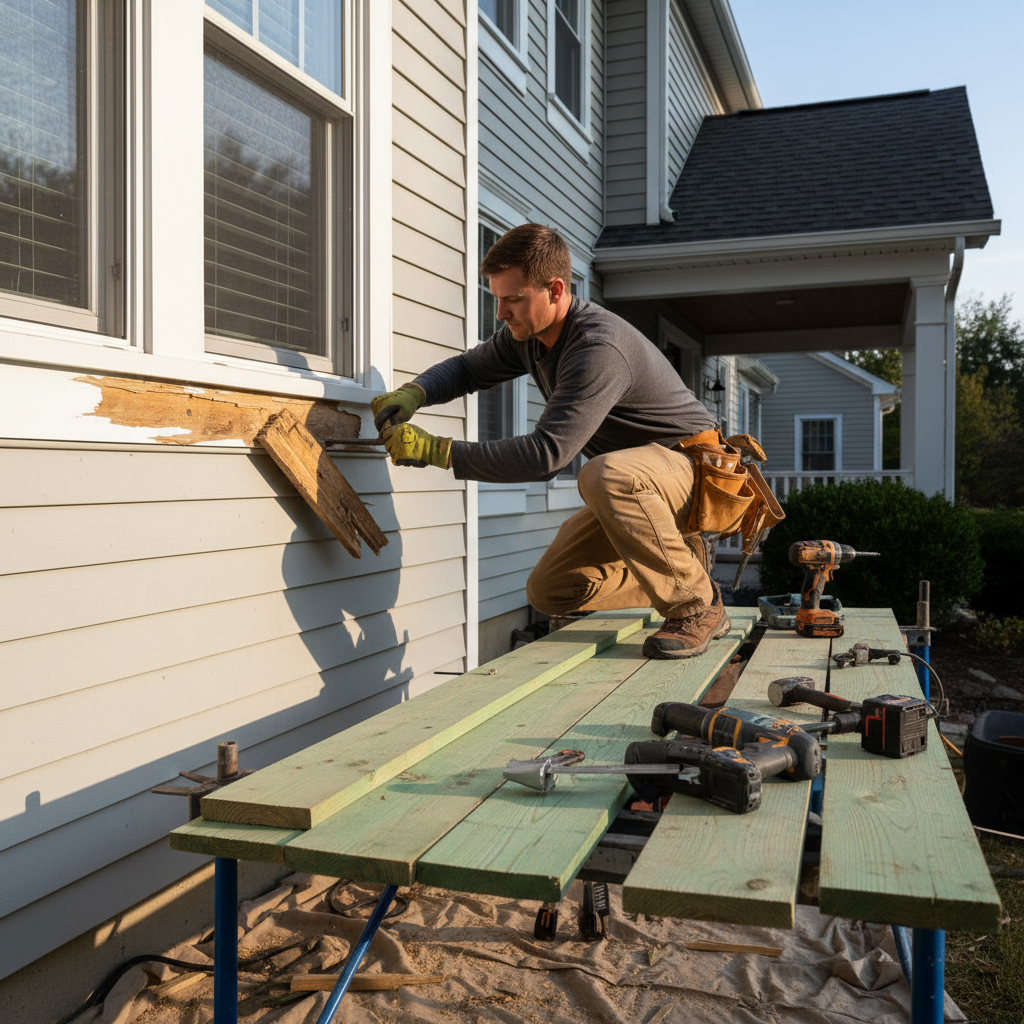
The call usually comes after the paint is done, the floors are finished, and somebody finally notices the ugly line running along the bottom of the room. Gaps big enough to collect dust, swollen trim near the back door, corners that never quite met, and a piece behind the couch that got kicked loose three winters ago. I see it all the time in Rockland and Orange County, especially in homes where one small trim issue turned into a whole-room eyesore.
Around here, baseboards take more abuse than most homeowners realize. Snow boots in January, damp basements in April, summer humidity in July, and old plaster walls that are anything but straight all work against a clean finish. In a lot of pre-1970 homes I work on, it's common to find floors out of level by as much as 1/4 inch over 8 feet, which is exactly why baseboard installation in Hudson Valley homes is rarely a simple cut-and-nail job.
The good news is that baseboards are one of those details that can completely sharpen up a room when they're done right. They hide rough edges, protect drywall, tie door casings together, and make even a basic paint job look more finished. Whether you're replacing beat-up trim, matching an older profile, or starting fresh after new flooring, it pays to understand the materials, the process, and the shortcuts that usually come back to bite you.
Choosing the Right Baseboard Style and Material
A lot of homeowners start with color and forget that height and profile matter just as much. In most Hudson Valley homes, I install 3 1/4-inch or 5 1/4-inch baseboard more than anything else. A 2 1/4-inch ranch profile can look too skimpy in a room with 8-foot ceilings, while 5 1/4-inch colonial or Craftsman-style trim usually gives the walls enough visual weight without feeling oversized. In older colonials and split-levels, matching the existing door casing is what keeps the room from looking patched together.
Material choices that actually make sense
For paint-grade work, pre-primed finger-jointed pine and MDF are the two most common choices. MDF is smooth, cheap, and easy to paint, but it hates moisture. I don't like it in entryways, basements, mudrooms, or anywhere a wet mop lives. Finger-jointed pine costs more, but it holds up better to bumps and doesn't swell as easily. Poplar is a nice upgrade for cleaner cuts and a harder surface, and PVC trim is the right call in damp basement spaces or near concrete floors where moisture is a recurring issue.
Matching the room, not just the shelf at the store
Big-box stores usually stock basic colonial, ogee, and ranch profiles, but older homes in Nyack, Newburgh, or Suffern often have trim that doesn't match today's standard profiles exactly. That's where homeowners get tripped up. They replace one wall and suddenly the patched section looks obviously newer. When I'm tying into old work, I pay attention to overall height, top profile, bottom thickness, and the reveal against the door casing. Even a 1/8-inch difference can look off once the room is painted.
Length matters too. Whenever possible, I buy 12-foot or 16-foot lengths so I can reduce seams on long walls. Fewer joints always looks better. Before installation, I let the material acclimate in the house for at least 48 hours, especially in winter. That gives the trim time to adjust to indoor temperature and humidity, which helps prevent shrinkage gaps after it's nailed up.
For stain-grade baseboards, avoid the cheap stuff. Oak, maple, and clear pine show every bad splice and every filler patch, so your cuts have to be dead on. Paint-grade gives you more room to work with, but even then, clean lines and consistent profile matter more than people think.
Bring the trim into the house and stack it flat for 48 hours before cutting. In winter, cold material from the truck will move once it warms up indoors.
Using MDF in a basement or near an exterior door is a mistake I see all the time. One wet season and the bottom edge starts to puff up.
How Baseboard Installation Really Works
Good baseboard work starts before the first cut. I measure each wall separately, then add 10 percent for waste, scarf joints, and bad cuts. If old trim is coming off, I score the top caulk line with a sharp utility knife first, then use a flat bar and a stiff putty knife behind it so I don't blow out the drywall or crack old plaster. In older Rockland County homes, that extra minute of care saves a lot of patching later.
Dealing with uneven floors and wavy walls
This is where the job is won or lost. Floors are rarely flat, especially in older homes. I find the high spot in the room first and start there. On a long wall, I dry-fit the board, then check the bottom gap. If the floor drops away, I may scribe the baseboard to the floor with a compass, trim it with a jigsaw, and fine-tune it with a block plane. If the gap is minor, shoe molding or quarter round can clean it up, but I don't use it to hide sloppy work.
Joints, corners, and fastening
Inside corners should usually be coped, not just mitered. A coped joint stays tighter as the house moves through the seasons. For fastening, I use 16-gauge finish nails, typically 2 inch or 2 1/2 inch depending on wall thickness and whether I'm hitting studs through plaster. Studs are usually 16 inches on center, and I mark them before I start. On stubborn walls, a little Loctite Power Grab Trim and Panel adhesive helps, but I never rely on glue alone. Long runs get scarf joints cut at about 30 to 45 degrees, ideally landing over a stud so both pieces can be locked in place.
Outside corners need extra care because they're the first thing your eye catches when you walk in. I cut both pieces clean, test-fit them dry, then pin them carefully so the miters don't shift. Nail holes get filled with a product like 3M High Strength Small Hole Repair or Ready Patch, and the top edge gets a light bead of paintable caulk such as DAP Alex Flex. The key word is light. Too much caulk makes crisp trim look mushy.
Once everything is installed, I sand the filled spots, caulk only where needed, and paint with a durable trim enamel in satin or semi-gloss. Benjamin Moore Advance and Sherwin-Williams Emerald Urethane are both solid choices. One coat of finish paint over factory primer isn't enough on most trim. Two coats is what gives you that clean, durable look homeowners actually notice.
Cut and install one 6-inch sample piece first when you're matching existing trim height to door casing. It's a quick way to catch a bad profile before you buy the whole house worth of material.
Mitering both sides of an inside corner without coping usually opens up after one heating season. It may look fine on day one and rough by February.
Repairing Damaged or Gapped Baseboards
Not every damaged baseboard needs a full replacement. Small dents, nail pops, and hairline cracks can usually be repaired. What matters is the material and the kind of damage. A chipped pine or poplar board can often be filled, sanded, and repainted. Swollen MDF is a different story. Once it takes on water and mushrooms at the bottom edge, replacement is usually the only repair that holds up.
Fixing loose boards, open joints, and seasonal gaps
When a baseboard pulls away from the wall, the first step is finding out why. Sometimes the original installer missed the studs. Sometimes old plaster keys broke behind the wall and there isn't much holding power left. I re-secure loose sections with fresh 16-gauge finish nails into solid framing, then fill and repaint. For small top-edge gaps, a thin bead of flexible paintable caulk works fine. For gaps at the floor, I look at the cause first. If the floor is out of level, shoe molding may be the cleanest fix. If the board simply wasn't fitted properly, it's better to recut or replace it.
Water damage and pet damage are their own category
Near patio doors, radiators, basement stairs, and kitchen sink walls, I see a lot of swollen corners and soft spots. Pet accidents can soak into MDF and even into wood fibers, leaving stains and odor behind. In those cases, I cut out the damaged section with an oscillating multi-tool, splice in a new piece with a scarf joint when possible, seal the area with a shellac primer like Zinsser BIN, and repaint. If the profile is common, replacement is straightforward. If it's older trim, I may need to rebuild a section by hand or source a close match from a local millwork yard.
A repair should disappear when the room is painted. That means sanding the filler smooth, keeping the caulk line tight, and feathering the paint so the sheen matches. A lot of DIY repairs fail because the patch is technically solid but visually obvious. The corner is wavy, the caulk bead is too heavy, or the filler wasn't sanded flush.
When more than one section in a room is damaged, replacing the whole run is usually the smarter move. It looks better, takes less fiddling, and often costs less than paying somebody to perform three or four separate trim surgeries on old material that was never installed well to begin with.
For a localized repair, cut back to the nearest stud whenever you can. Your patch will fasten better and the seam is less likely to crack later.
Keep wet boots, mops, and pet water bowls away from MDF trim. A simple rubber mat can prevent the kind of swelling that turns a repair into a replacement.
Common Mistakes to Avoid
The biggest mistake homeowners make is assuming baseboard is just a cosmetic add-on. It isn't. It's finish carpentry, and finish carpentry shows every shortcut. I can't tell you how many times I've been called in after somebody bought trim, cut it all on the garage floor, and then realized the room wasn't square, the walls bowed, and the new flooring left a bigger gap than expected.
Another common mistake is choosing the material based only on price. MDF looks good on the rack and paints up nicely, but in a Hudson Valley mudroom, laundry area, or basement, it can fail fast. The second material mistake is not acclimating the trim indoors. That's when joints open up a month later and homeowners think the installer did bad work, when really the wood moved after installation.
Bad joint work is a close third. Inside corners that should be coped get slapped together with opposing 45s. Scarf joints land in midair with no stud behind them. Homeowners try to fix every visible flaw with a giant bead of caulk, and now the trim edge looks rounded and sloppy instead of crisp. Caulk is for finishing, not for carpentry.
The last one is sequencing. Baseboards should be planned around flooring, door casings, and paint. Install them too early and they get beat up by the rest of the project. Install them too late without accounting for the finished floor height and suddenly every gap shows. On hardwood jobs, you also need to respect expansion space. You don't want to pin a floating floor in place with trim installed too tight.
Before buying material, measure ceiling height, existing casing width, and the largest floor gap in the room. Those three numbers will tell you a lot about what profile and install method will work.
Use longer lengths and plan your cuts wall by wall. Fewer seams means less waste, less filler, and less labor when it comes time to paint.
Cost Breakdown: What to Expect
Baseboard cost depends on three things more than anything else: material, profile size, and how much prep the room needs. For basic materials, expect roughly $1.25 to $2.50 per linear foot for MDF, $1.75 to $3.50 for pre-primed finger-jointed pine, $2.50 to $5.50 for poplar, and $3.50 to $7 or more for oak or specialty profiles. PVC usually lands around $2.50 to $5 per linear foot. Shoe molding or quarter round adds its own material and labor line.
In Rockland County, handyman and finish carpentry labor commonly runs about $85 to $135 per hour depending on the home, access, and finish quality. In Orange County, I usually see about $75 to $120 per hour. For a straightforward remove-and-replace job with paint-grade material, most homeowners land in the range of $7 to $14 per linear foot installed. If the project includes coping detailed corners, patching plaster, priming, and two finish coats, it's more realistic to budget $10 to $18 per linear foot. Stairs, curved walls, and custom stain-grade trim can push beyond that.
For DIY, the raw trim cost may look attractive, but don't forget tools and supplies. A decent miter saw, compressor, and finish nailer can run $350 to $900 if you don't already own them. Add caulk, filler, sandpaper, paint, brushes, and a stud finder, and a small-room DIY project can easily carry $100 to $250 in supplies before material. A typical 12-by-14 room with about 52 linear feet of baseboard might cost a DIY homeowner $150 to $400 in material and consumables, while professional installation and paint could run $500 to $1,100 depending on wall condition and trim choice.
The hidden cost is wall repair. In older houses, removing old baseboard often tears paper drywall, cracks plaster edges, or reveals previous flooring lines. That's normal. If I have to patch, sand, prime, and touch up walls before the new trim goes on, that adds time. The same goes for rooms full of heavy furniture, built-ins, radiator piping, or old lead-paint-era trim that needs extra containment and care.
My honest advice is this: if the room is simple and you already own the tools, DIY can make sense. If you're dealing with old plaster, uneven floors, or you want stain-grade results, hiring a pro usually saves money in the long run because you avoid buying extra material, repainting, and living with crooked joints every time you walk into the room.
If your existing baseboards are in decent shape, repairing damaged sections and repainting the whole room can cost a lot less than replacing every run.
Keep baseboards painted and caulked at the top edge. Small cracks let in dust and moisture, and neglected trim usually costs more to fix later.
📍 How This Applies to Homes in Rockland & Orange County
Baseboard problems show up differently here than they do in a brand-new, perfectly climate-controlled house somewhere else. In Rockland and Orange County, the Hudson Valley climate puts trim through a real seasonal workout. Harsh winters dry out interior air and can open up joints. Freeze-thaw cycles move older framing just enough to telegraph through corners and seams. Then spring moisture hits, summer humidity rolls in, and suddenly the same baseboard that looked tight in February starts showing movement by June.
A big share of the homes I work in around Nanuet, Spring Valley, Suffern, Nyack, and New City were built before 1970, and that matters. Older houses tend to have more settled floors, plaster walls, and trim profiles that don't match what you grab off the shelf at the home center. In those houses, baseboard installation is rarely just a matter of cutting 45s and firing nails. You have to scribe to the floor, cope your corners, and sometimes custom-fit one wall at a time because nothing is perfectly straight anymore.
In Orange County towns like Middletown and Newburgh, I also see more moisture-related issues in lower levels, mudrooms, and entries. Snow, salt, and wet boots get tracked in all winter, then spring brings damp conditions that can swell cheap trim fast. That's why I steer homeowners away from MDF in vulnerable areas and toward finger-jointed pine, poplar, or PVC where it makes sense. The right material choice up front saves a lot of aggravation later.
Local homes also tend to have practical wear patterns. Near back doors, garage entries, and basement stairs, baseboards get scuffed, kicked, wet, and bumped by everything from vacuums to hockey bags. So when I talk about good trim work, I'm not just talking about looks. I'm talking about choosing an installation method and a material that can handle real Hudson Valley living without needing another repair call after one rough winter.
Frequently Asked Questions
Ready to Get Started?
Get Your Free Estimate Today
Serving Rockland County & Orange County, NY. Professional results, guaranteed.
Request a Free Estimate →