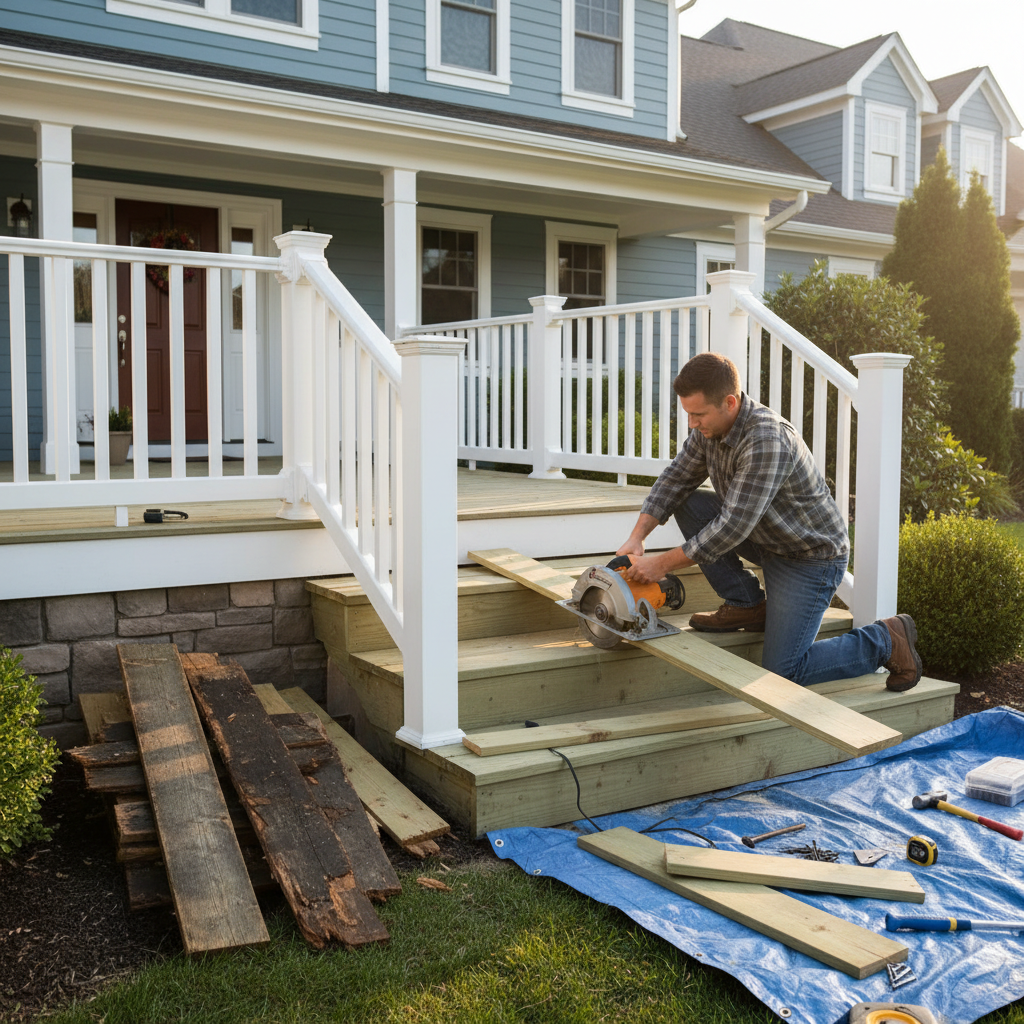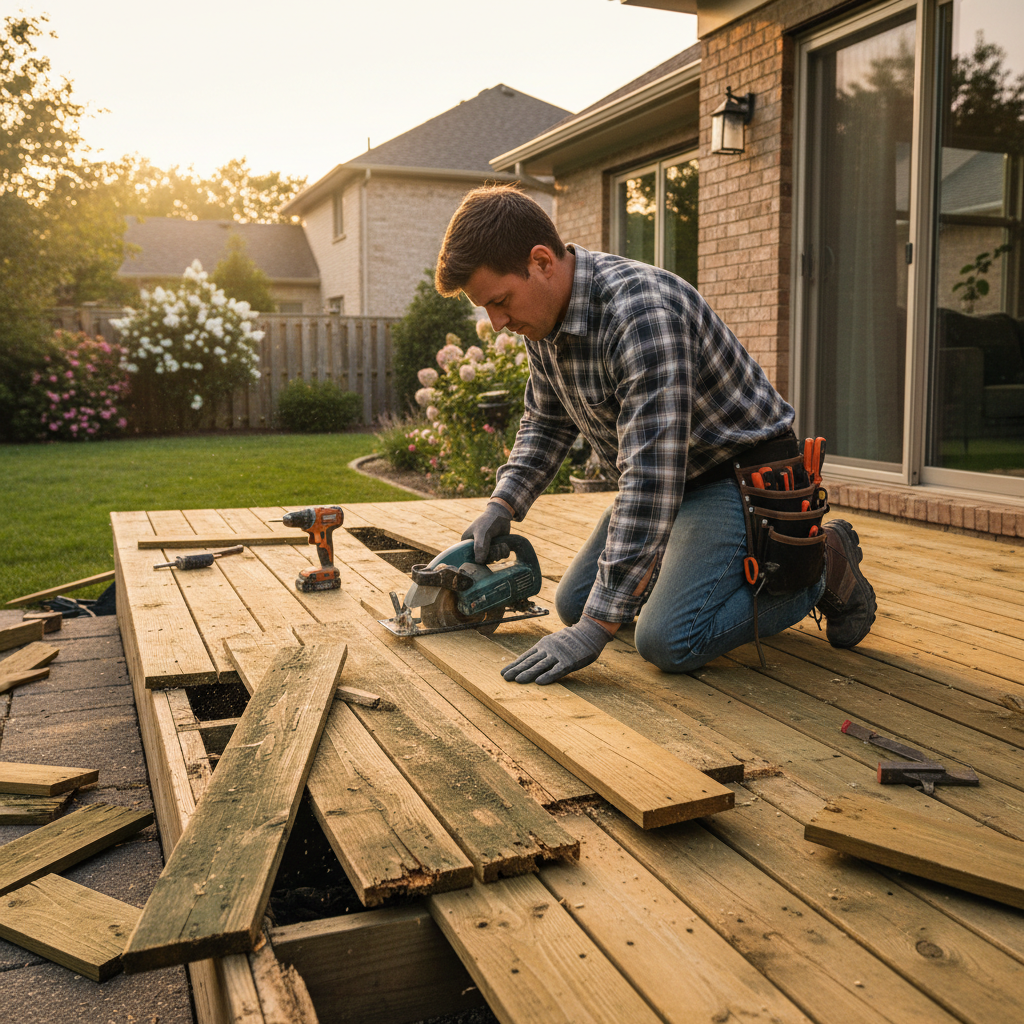
The first warm weekend of spring always tells the truth. Homeowners in Orange and Rockland call me after they drag the grill out, set the chairs back in place, and feel that one soft board underfoot or notice the railing wobble just a little more than it did last fall. By then, the damage usually didn’t happen overnight. It built up through snow sitting on the boards, ice working into tiny cracks, and spring rain soaking places nobody checked.
After more than 20 years working on homes around this part of New York, I can tell you decks age faster here than people expect. NADRA has reported that millions of decks across the country are past their useful service life or need repair, and in the Hudson Valley I’d say the combination of winter freeze-thaw, spring moisture, and sticky summer humidity speeds that process up in a hurry. A deck can still look decent from the patio door and be hiding rot at the ledger, the stair stringers, or the bottoms of the posts.
The good news is that smart annual care is a lot cheaper than major repair or full replacement. A couple of hours spent inspecting fasteners, washing the surface correctly, and resealing at the right time can add years to the life of your deck. This guide is the same plain-English advice I give homeowners looking for reliable deck maintenance Orange County NY service, whether the deck is pressure-treated pine, cedar, composite, or an older platform that’s seen a few rough winters.
Start With a Full Spring Deck Inspection
Look underneath before you look on top
Most homeowners start by looking at the deck boards, but I always begin underneath. The structure tells you more than the surface. Check the posts where they meet the footings, the beams, the joists, and especially the ledger board where the deck connects to the house. Take a bright flashlight and a small awl or flat screwdriver and probe any dark or punky-looking wood. Sound wood feels firm; rot lets the tool sink in. On older pressure-treated lumber, pay close attention to end cuts, notches, and the bottoms of 4x4 or 6x6 posts.
Inspect the ledger, flashing, and fasteners
The ledger is one of the biggest trouble spots I see. Leaves and debris trap moisture there, and once flashing fails, water gets between the deck and the house. Look for rust streaks, pulled fasteners, black staining, or soft sheathing. On a properly secured ledger, I want to see structural screws or through-bolts, not a row of random deck screws somebody added years later. Hardware from Simpson Strong-Tie, like SDWS structural screws, holds up a lot better than cheap coated screws when we’re dealing with repeated wet-dry cycles.
Check boards, gaps, stairs, and rails
Move to the walking surface next. Deck board spacing should usually stay around 1/8 inch to 1/4 inch depending on the material and season. Boards that are crowning, splitting at the ends, or pulling around fasteners are telling you moisture has been getting in for a while. On stairs, test every tread with your weight and check the stringers where they meet the ground. For rails, push firmly from a few angles. A safe rail shouldn’t sway. As a general rule, rail height should be about 36 inches on most residential decks, and baluster spacing should not allow a 4-inch sphere to pass through.
Don’t ignore surface clues
Mildew, gray weathering, raised grain, popped nails, and shiny spots where water beads in some places but not others all mean different things. Gray wood usually means UV exposure has broken down the surface fibers. Dark blotches can mean tannin bleed, mildew, or trapped moisture. I also look for fastener heads sitting proud of the board by even 1/16 inch to 1/8 inch, because that’s often the first hint a board is moving too much. Keep a notepad or use your phone and mark what needs immediate repair versus what can wait until the staining stage.
Make a simple annual checklist
The best-maintained decks I see belong to homeowners who keep a repeatable checklist. Once a year, inspect the frame, rails, stairs, surface boards, post bases, and house connection. Every two to three years, plan on washing and reapplying protection to wood decks, sometimes sooner on full-sun exposures. Take photos from the same four corners every spring. It sounds simple, but side-by-side photos make it easy to catch sagging, discoloration, and movement before they turn into a bigger bill.
Bring a 6-foot level and set it on the deck surface in a few areas. A sudden dip of even 1/4 inch over a short span can point to a joist issue or a failing board you won’t notice just by eye.
Homeowners often replace a cracked deck board but skip checking the joist underneath. If the joist top is rotted, the new board won’t stay solid for long.
Cleaning, Stain, and Water Protection
Use the right cleaner for the material
A good wash isn’t just about looks. It opens the wood evenly so stain can bond and it removes the mildew film that holds moisture against the surface. On most wood decks, I prefer an oxygenated cleaner with sodium percarbonate rather than straight chlorine bleach. Products like DEFY Wood Cleaner or Cabot Problem Solver Wood Cleaner do a solid job without chewing up the fibers the way bleach can. Mix according to the label, apply with a pump sprayer, let it dwell 10 to 15 minutes, and scrub stubborn areas with a medium-bristle deck brush.
Be careful with pressure washing
This is where a lot of decks get ruined. For older pressure-treated pine or cedar, keep pressure low, usually in the 500 to 800 PSI range, use a 40-degree fan tip, and stay roughly 12 to 18 inches off the surface. You’re rinsing, not carving. I’ve replaced plenty of boards that were fuzzed up so badly by aggressive pressure washing they held water like a sponge afterward. Composite decking should be cleaned according to the manufacturer, and in many cases a garden hose, soft brush, and composite-specific cleaner work better than a pressure washer.
Let the deck dry before staining
This step gets skipped all the time. In our area, a deck can feel dry on top and still be holding moisture deeper in the board. I like a minimum of 48 hours of dry weather after washing, and I’ll often check with a moisture meter before staining. For most wood decks, you want the moisture content under about 15 percent before applying a penetrating finish. If you stain damp wood, the coating can flash dry unevenly, peel early, or trap moisture below the surface.
Pick a finish that matches the deck’s condition
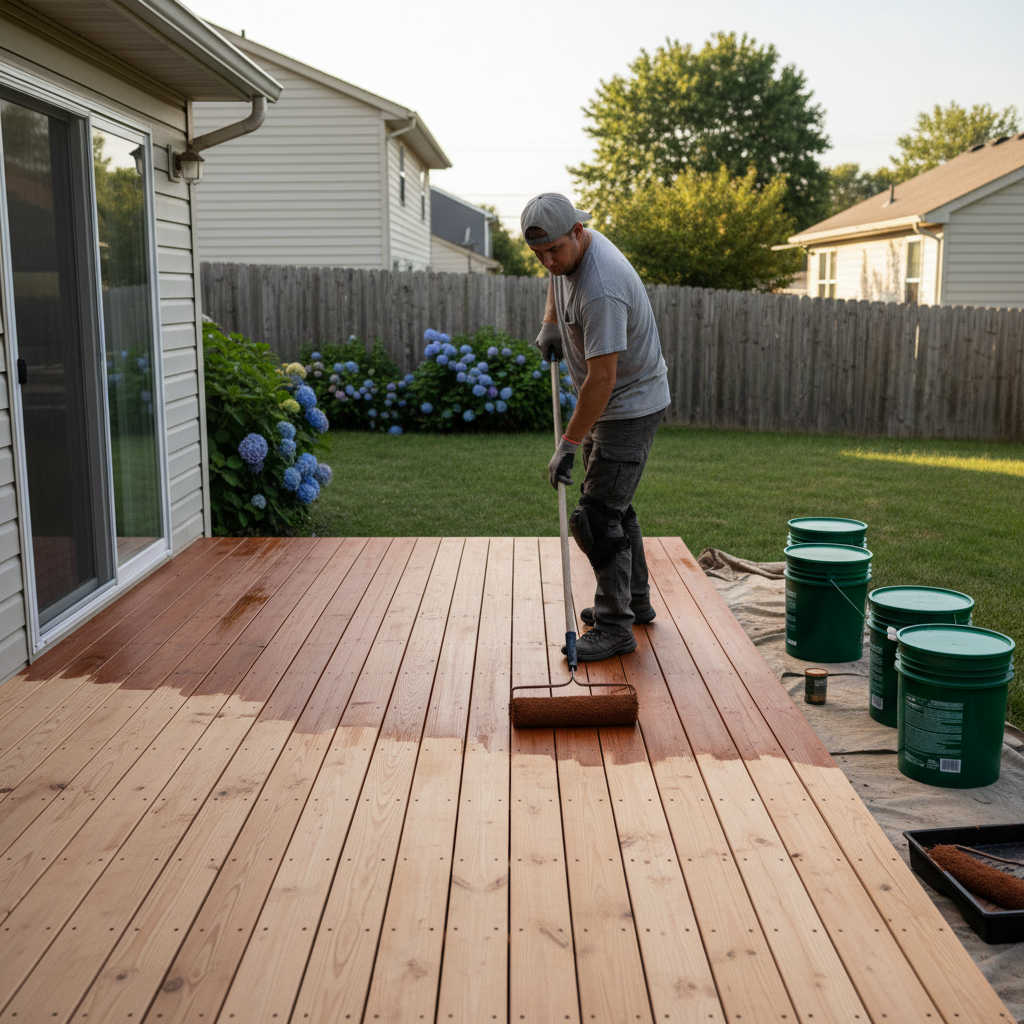
Clear sealers don’t last long in full Hudson Valley sun. On most wood decks, a semi-transparent penetrating stain is the sweet spot because it gives you water protection, UV defense, and easier future maintenance. I’ve had good results with Benjamin Moore Arborcoat Semi Transparent and DEFY Extreme on many local decks, especially when the prep is done right. Apply with a stain pad or 4-inch brush, work two or three boards at a time, and back-brush so you don’t leave lap marks. On heavily weathered decks, a solid-color stain can even out appearance, but only if the wood is structurally sound and fully prepped.
Protect the small details that fail first
The spots that fail first are usually the ones people miss: stair tread ends, the tops of rail caps, cut ends of replacement boards, and anywhere two members meet and hold water. I always seal fresh cuts and pay extra attention to horizontal surfaces that sit in direct sun and rain. Keep planters off the deck boards with risers, don’t let outdoor rugs stay wet for days, and trim nearby shrubs so air can move. A deck dries faster and lasts longer when it can breathe.
Tape off siding and aluminum balusters before washing or staining. It saves cleanup time and keeps cleaners and pigments from leaving streaks on the house.
Putting stain on late in the day when dew is coming in is a common problem. Even a good product can dry blotchy or stay tacky when nighttime moisture lands on it too soon.
Common Mistakes to Avoid
The biggest mistake I see is treating deck maintenance like a cosmetic chore instead of a structural one. Homeowners sweep it, maybe rinse it off, and assume that’s enough. Meanwhile, the ledger connection loosens, post bases stay buried in mulch, and stair stringers wick up moisture from the ground. By the time the stain fails, the repair is already bigger than it had to be.
Another common problem is over-washing. A pressure washer with too much PSI, held too close, will fur the surface and dig lines into soft wood. That damage doesn’t just look rough; it actually opens the grain and lets water sit longer. Then homeowners try to fix the fuzzy surface by adding extra stain, which only creates a sticky film that wears unevenly.
I also see a lot of bad timing. Staining right before rain, staining wood that hasn’t dried enough, or cleaning in cool shade and expecting it to dry like it’s mid-July are all recipes for disappointment. Around here, I’d rather wait for a proper weather window than rush a job just because the weekend opened up. Two dry days with moderate temperatures will beat one frantic Saturday every time.
The other mistake is using the wrong fasteners and patch materials. Drywall screws, interior wood filler, and bargain hardware have no business on an exterior deck in New York. For repairs, use exterior-rated structural connectors, corrosion-resistant screws, and wood epoxy only where it makes sense for small isolated damage. Once rot reaches a load-bearing area like a joist end, stair stringer, or rail post connection, patching is not the fix. Replacement is.
Last one, and it matters: people put off small repairs because the deck still feels usable. A single loose rail post or one split tread might seem minor, but those are exactly the things that lead to accidents when you’ve got family over. Decks fail slowly until one day they don’t.
Once a year, get down at eye level with the ledger and stair stringers. Those two areas tell me more about a deck’s true condition than the stain color ever will.
Replacing a handful of damaged boards and resealing the whole deck early is usually far cheaper than waiting until the joists or rails are compromised and need structural repair.
Cost Breakdown: What to Expect
For homeowners budgeting deck maintenance Orange County NY work, the biggest variables are deck size, material, accessibility, and how much hidden repair is waiting once the deck gets cleaned up. A basic wash on a small 12x16 wood deck is one thing. A larger elevated deck with stairs, railings, and years of neglected stain buildup is a different animal.
For DIY maintenance, expect cleaner, sandpaper, brushes, tape, and stain materials to run roughly $150 to $450 on a small to mid-size deck, and $400 to $900 on a larger deck if you’re using better products. Pressure washer rental in this area is often about $70 to $110 per day. A decent moisture meter runs $35 to $80, and a quality exterior stain can cost about $50 to $75 per gallon, with coverage typically around 150 to 250 square feet depending on the wood and how thirsty it is.
For professional work in Rockland and Orange County, labor rates usually land around $75 to $110 per hour in Orange County and about $85 to $125 per hour in Rockland, depending on experience, insurance, crew size, and the scope of repair. For full deck washing and staining, many contractors price by square foot instead, often around $2.50 to $5.50 per square foot for straightforward wood decks. Heavier prep, stripping, sanding, or difficult access can push that higher.
For repairs, a few replaced deck boards may run about $250 to $700 total if the framing underneath is sound. Replacing stair treads and tightening rails often falls in the $400 to $1,200 range depending on quantity and hardware. A more serious structural repair, like ledger work, joist repair, or post replacement, can climb into the $1,200 to $3,500 range pretty quickly. Once multiple structural components are compromised, homeowners start getting close to partial rebuild territory.
As a rough real-world example, a typical 300-square-foot pressure-treated deck in this region might cost $250 to $500 in DIY materials for cleaning and staining, versus about $900 to $1,650 professionally for wash, prep, and stain under normal conditions. Add another $300 to $800 if several boards need replacement first. Spending that annually or every couple of years is still a lot easier to swallow than a $12,000 to $25,000 replacement deck because maintenance got skipped too long.
Bundle deck cleaning and minor repairs in the same visit. It’s usually cheaper to replace a few bad boards before staining than to pay for a separate return trip later.
Keep leaves cleaned out from between boards and away from the ledger line. That five-minute habit reduces trapped moisture and helps prevent the kind of rot that turns a maintenance job into a structural repair.
📍 How This Applies to Homes in Rockland & Orange County
Deck care in the Hudson Valley has its own personality, and it’s not always gentle. In Rockland County towns like Nanuet, Spring Valley, Suffern, Nyack, and New City, I see a lot of backyard decks that get shaded by mature trees, which means slower drying after rain and more mildew buildup. In Orange County, especially around Middletown and Newburgh, there are plenty of homes with wider-open yards and more sun exposure, so UV wear can be just as hard on the finish as moisture is. Either way, the climate works the deck from both sides.
Harsh winters and freeze-thaw cycles are the big reason annual inspections matter here. Water gets into hairline cracks, around screw holes, and into board ends, then expands when temperatures drop. By spring, what looked like a tiny split in November has opened up, fasteners have lifted, and stairs start to loosen. Add in spring moisture and summer humidity, and wood barely gets a break unless it’s maintained on schedule.
Older pre-1970s homes around both counties bring another layer to the conversation. A lot of these properties have had decks added well after the house was built, sometimes more than once, and not every older installation was flashed or fastened the way we’d do it now. I’ve worked on homes in Nyack and Newburgh where the deck surface looked fair, but the ledger area told a very different story once we pulled back debris and trim. On older homes especially, it pays to inspect the house connection, rail post attachments, and footings with a little extra suspicion.
That’s why local deck maintenance isn’t just about appearance. It’s about adapting to real conditions in Rockland and Orange County: tree cover, damp springs, hot sticky summers, and long winters that punish exposed wood. Homeowners here get the best results when they clean in late spring, inspect again in early fall, and stay ahead of small issues before the next round of snow and ice rolls in.
Frequently Asked Questions
Ready to Get Started?
Get Your Free Estimate Today
Serving Rockland County & Orange County, NY. Professional results, guaranteed.
Request a Free Estimate →