Fence Repair Hudson Valley NY: How to Fix Leaning, Broken, and Rotting Fences Before They Fail
From loose posts to rotted rails, here’s how local homeowners can repair a fence the right way and avoid doing the same job twice.
The first windy night after a March thaw is when a lot of fences around here finally give up. I’ve seen it plenty of times in Rockland and Orange County: one section starts leaning toward the neighbor’s yard, a gate won’t latch anymore, and the bottom of the post feels soft when you push on it. What looked like a small problem all winter suddenly turns into a full-blown repair once the ground loosens up and the spring rain moves in.
Most homeowners assume the panel is the problem because that’s the part they can see. In reality, the trouble usually starts below grade or right at ground level. In my own repair calls across the Hudson Valley, I’d say at least 7 out of 10 leaning fences trace back to post failure, shallow footings, or rot where the wood stays damp against soil and mulch. That’s especially true on older properties where the fence may have been patched a few times instead of rebuilt correctly.
The good news is a damaged fence doesn’t always mean you need a whole new one. A lot of the time, you can stabilize a leaning section, swap out broken rails, replace rotted pickets, and get several more solid years out of it. The trick is knowing what’s cosmetic and what’s structural. That’s where smart fence repair Hudson Valley NY homeowners can trust really comes down to good diagnosis, proper materials, and not cutting corners on posts, fasteners, or drainage.
How to Find the Real Cause of Fence Damage
Start with the posts, not the pickets
When I inspect a fence, I don’t begin with the broken board everybody notices first. I start at each post and put pressure on it by hand. A sound 4x4 pressure-treated post should feel firm with very little movement at the top. If it shifts more than 1 to 2 inches when you push, something’s wrong below. In our area, a proper repair usually means checking whether the post is set at least 36 to 42 inches deep, with 6 inches of 3/4-inch crushed stone at the base and concrete around the shaft. Anything shallower is asking for trouble once the ground freezes and heaves.
Check for rot where wood meets moisture
The most common rot shows up right at grade, not at the top of the fence. Pull back mulch, grass, and vines from the base of the post and probe the wood with a screwdriver or awl. If the tool sinks in more than 1/4 inch or the wood feels spongy, that post is on borrowed time. The same goes for bottom rails sitting too close to wet soil. I also look for black staining, mushrooming grain, and fasteners that have started pulling out because the wood fibers are gone.
Follow the line of the rails and panels
A leaning fence can mean one failed post, but it can also mean the rails have split or the panel was over-spanned. Most wood privacy fences should have posts spaced 6 to 8 feet on center. Once you get beyond that, especially with a 6-foot-tall solid panel, wind load starts beating up the rails. Sight down the fence line and look for sagging 2x4 rails, popped nails, or pickets that have twisted enough to pull the section out of square.
Don’t forget the hardware and gate side
A fence gate tells you a lot. If the latch side has dropped more than 1/2 inch, or the gate drags the ground, the hinge post may be failing even if the rest of the fence looks decent. Check hinges for rust, screws for withdrawal, and brackets for cracking. On older repairs, I often find interior drywall screws or electro-galvanized fasteners used outside. Those won’t hold up. For exterior fence work, I prefer hot-dipped galvanized or stainless screws, and for structural connections I’ll use Simpson Strong-Tie brackets or GRK RSS exterior structural screws.
Decide whether you’re repairing, reinforcing, or replacing
Once you know the actual cause, the repair path gets clearer. One loose rail and three cracked pickets is a repair. One failed post throwing two sections out of line may be a repair plus reset. But when more than 20 to 25 percent of the posts show rot, or the fence has widespread twisting and top-to-bottom decay, a patch job usually turns into wasted money. That’s the point where I tell homeowners to stop feeding repairs into a fence that’s already at the end of its life.
Take a 4-foot level and check both the post and the panel. A fence can look crooked from the yard but actually be a single post leaning just 2 or 3 degrees off plumb. Find the exact failure before buying materials.
Homeowners often replace pickets first because they’re cheap and easy, but fresh pickets on a rotted post won’t solve the problem. Fix structure before cosmetics.
How to Repair Leaning, Broken, and Rotting Fence Sections
Fixing a leaning fence post the right way
If the post is solid but the footing has shifted slightly, you may be able to straighten and brace it. I’ll pull the section back to plumb with a ratchet strap, install temporary 2x4 bracing, then excavate around the old footing to see what I’m working with. If the post is rotted or the concrete is loose and shallow, I replace it. For most 6-foot wood fences in the Hudson Valley, I use a ground-contact pressure-treated 4x4 post, set in a 10-inch-diameter hole at roughly 42 inches deep. I add 6 inches of crushed stone, then set the post with Quikrete Fast-Setting Concrete or Sakrete High-Strength Concrete Mix, keeping the top of concrete slightly crowned so water sheds away from the wood.
Replacing broken rails and damaged panels
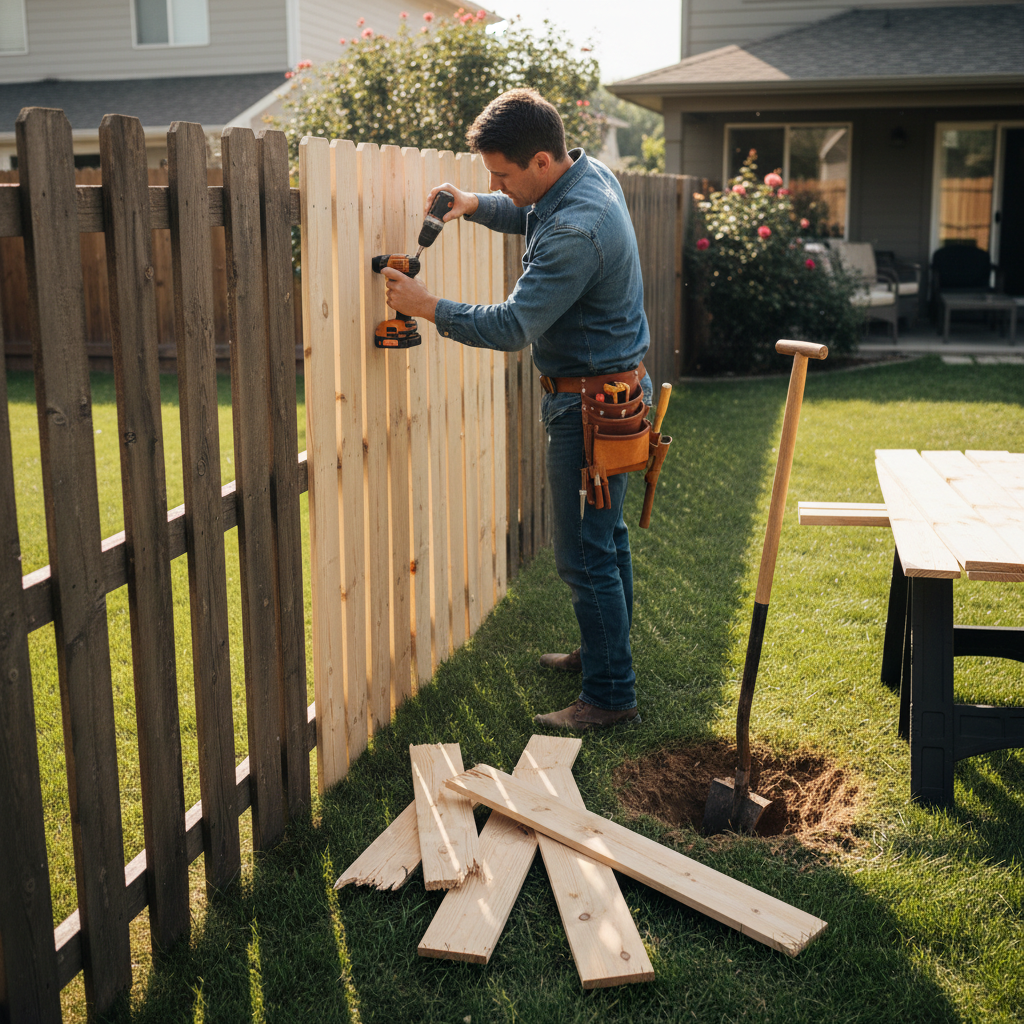
Broken rails usually happen because the rail spans too far, water sat on the top edge, or the fasteners failed. Cut back to solid wood and replace with pressure-treated 2x4 rails, typically fastened with 3-inch exterior structural screws rather than nails. On a standard 8-foot section, I’ll install two rails for shorter decorative fences and three rails for a 6-foot privacy fence. If the panel is preassembled and badly twisted, sometimes it’s faster and cleaner to replace the whole 8-foot section than to chase one failure after another. Prebuilt wood panels save time, but stick-built repairs often last longer because you can correct spacing and fastener placement on site.
Handling rot without wasting money
Rot repair depends on where the decay is. A rotted picket can simply be replaced. A rotted rail should be replaced entirely, not sistered with a weak patch. A post with decay at grade is structural and should not be trusted just because the top half looks decent. I’ve seen homeowners use wood filler, metal wrap kits, or surface patches on a post that was already gone inside. For non-structural trim or small checks, products like Abatron WoodEpox have their place, but not on a load-bearing fence post carrying wind load or a gate.
Reinforcing gates and high-stress areas
Gates are hard on fences because all that weight hangs off one post. When I rebuild a gate section, I usually go heavier: a 4x4 or even 6x6 hinge post on wide openings, 3 heavy-duty strap hinges, a no-sag gate kit or diagonal brace, and 5/16-inch by 4-inch exterior lag screws where needed. For vinyl fences with sagging gates, I’ll often add an internal aluminum stiffener to the gate stile if the manufacturer allows it. The main goal is to keep the hinge side rigid so the latch side doesn’t keep dropping every season.
Finishing the repair so it lasts
Once the structure is fixed, I trim the bottom of wood pickets to maintain about 2 inches of clearance above soil and 1 inch above gravel. Then I seal exposed cuts with an end-cut preservative like Copper-Green Wood Preservative or a similar copper naphthenate treatment. New wood should dry out before staining, but once it’s ready, a penetrating exterior stain from brands like Ready Seal, Cabot, or Benjamin Moore Arborcoat helps slow water absorption and UV damage. A good fence repair isn’t just straight again. It’s detailed so it stays straight.
For a 6-foot privacy fence, set gate posts and corner posts deeper and wider than line posts whenever possible. Those are the spots that fail first under wind and repeated use.
Keep mulch, leaves, and ivy at least a few inches away from the base of wood posts. Constant trapped moisture is one of the fastest ways to shorten fence life.
Common Mistakes to Avoid
The biggest mistake I see is trying to save a bad post. Homeowners will brace a leaning section, screw on a couple of metal straps, and hope for the best. That might buy a few months, but once the post has rotted at grade or the footing has heaved badly, the fence is only as strong as its weakest anchor point. You can’t build a lasting repair on a failed foundation.
Another common problem is using the wrong fasteners. Drywall screws snap, bright nails rust, and light-duty deck screws can shear off under stress. On fence repairs, especially for rails and gates, you want exterior-rated hardware: hot-dipped galvanized nails, ceramic-coated structural screws, or stainless steel if you’re near heavier moisture and want maximum corrosion resistance. Mixing pressure-treated lumber with cheap hardware is a recipe for callbacks.
I also see plenty of repairs done too close to the ground. Pickets buried in soil, rails sitting in wet leaves, and post bases surrounded by mulch all hold moisture where wood shouldn’t stay wet. In the Hudson Valley, with spring moisture and summer humidity, that trapped dampness accelerates rot fast. Even a nicely built fence will fail early if it can’t dry out between storms.
Then there’s the temptation to patch only the visible damage. A cracked panel gets swapped out, but the adjoining post is already loose, or the gate is rehung without reinforcing the hinge post. Fence parts work together. When one area fails, the stress shifts to the next weakest spot. A proper repair means checking the neighboring section, the post alignment, and the hardware, not just the board that broke.
Finally, many DIY repairs skip layout and plumb checks. I always run a string line, use a 4-foot level, and confirm panel heights before fastening everything tight. A fence can look fine up close and still snake across the yard once you step back. Good fence repair is part carpentry, part layout, and part knowing how weather and soil movement affect the line over time.
When replacing even one post, match the repair materials to the original fence height and spacing, but upgrade the footing depth and hardware if the old build was underdone.
Before buying a full panel, measure the existing rails and picket spacing. Many fences can be repaired with individual components instead of replacing an entire section.
Cost Breakdown: What to Expect
Fence repair costs vary a lot depending on whether you’re replacing a few boards or digging out failed posts in rocky, root-heavy ground. For basic DIY work, replacing several pickets and one rail might run $50 to $200 in materials if you already own a circular saw, drill, post level, and digging tools. A more serious DIY repair involving a new 4x4 post, two bags to four bags of concrete, crushed stone, exterior screws, and stain touch-up usually lands around $125 to $350 per post section, not counting auger rental or debris disposal.
For professional work in Rockland and Orange County, small repair jobs are often priced by the task rather than strictly by the hour, but labor still matters. A handyman or repair carpenter in Rockland County commonly bills around $95 to $135 per hour, while Orange County often falls closer to $85 to $120 per hour. A dedicated fence crew may effectively price closer to $150 to $225 per hour for a two-person team once travel, hauling, and setup are factored in. Minimum service calls also come into play, especially for one-panel repairs.
Here’s a practical range homeowners can expect. Replacing a few broken pickets or one damaged rail usually runs about $225 to $650 professionally. Resetting or replacing one leaning post with minor panel reattachment often falls between $350 and $900. Rebuilding an 8-foot wood fence section is commonly $500 to $1,200 depending on style, height, and access. Gate repairs, including hinge replacement, alignment, and latch work, often land in the $225 to $600 range, while a full gate rebuild can push $700 to $1,500.
Rot repair is where costs climb, because once decay spreads to multiple posts or rails, labor increases fast. Replacing two to three posts and reconnecting adjacent sections can run $900 to $2,500. If several sections have reached the end of their life, a contractor may advise partial replacement instead of repeated repairs. Don’t forget extras like haul-away fees of $50 to $150, stain or sealer application, permit questions for full replacements, and access issues on sloped or tight lots.
The cheapest repair isn’t always the best value. Spending $400 to patch a fence that really needs $1,200 worth of structural work usually means paying twice. On the other hand, catching one failed post early can save an entire run of fence from collapsing. That’s why I tell homeowners to price the repair against the remaining life of the fence, not just the immediate damage you can see from the patio.
Schedule fence repairs before peak summer demand if you can. Spring and early fall often give homeowners better scheduling options and sometimes better pricing on small jobs.
Wash dirt and mildew off the fence once a year and restain on schedule. A few hours of upkeep can delay expensive post and rail replacement.
📍 How This Applies to Homes in Rockland & Orange County
Fence problems hit differently in the Hudson Valley than they do in milder parts of the country. Between harsh winters, freeze-thaw cycles, spring moisture, and sticky summer humidity, our fences take a beating year-round. A post that seemed solid in January can loosen by April once the ground moves, and a small crack in a rail can open up fast after a few wet weeks. That’s why fence repair Hudson Valley NY homeowners need isn’t just cosmetic work. It has to account for soil movement, drainage, and seasonal moisture.
In towns like Nanuet, Spring Valley, Suffern, Nyack, and New City, I see a lot of older pre-1970s homes where fences have been added, moved, and patched over decades. Property lines may be well established, but the fencing along them often isn’t original and sometimes wasn’t installed with today’s best practices. Shallow post holes, undersized hardware, and old wood set too close to grade are common. On sloped lots and older suburban properties, one weak corner can throw off an entire run.
Head west into Middletown and Newburgh, and you run into a different mix of issues: larger yards, more wind exposure, heavier wet spots, and long fence lines that were built in phases. I’ve repaired plenty of sections where one newer panel was tied into older posts that were already half gone. Add in spring mud, drainage swales, and low areas that stay damp, and rot spreads faster than people expect. Summer humidity doesn’t help either, especially on wood fences with little sun or airflow.
What works best locally is simple, solid construction: deeper post settings, proper gravel drainage under the footing, corrosion-resistant hardware, and enough clearance at the bottom of the fence to let things dry out. On older Hudson Valley homes, it also pays to inspect the whole fence instead of just the damaged area, because repairs tend to reveal the next weak point. Around here, a fence has to survive weather first and look good second.
Frequently Asked Questions
Ready to Get Started?
Get Your Free Estimate Today
Serving Rockland County & Orange County, NY. Professional results, guaranteed.
Request a Free Estimate →