Kitchen Remodeling Rockland County NY: What to Upgrade and What to Keep on a Budget
A smart kitchen remodel doesn't have to start with a dumpster in the driveway - it starts with knowing what's worth changing and what's worth leaving alone.
By 7 a.m., the coffee maker's humming, one cabinet door won't close right, and the laminate countertop by the sink has that swollen seam everybody in the house pretends not to notice. I've stood in kitchens like that all over New City, Nanuet, and Middletown, and the conversation usually starts the same way: "We know this place needs help, but we can't do a full gut." Truth is, most budget kitchen projects don't need a full gut at all.
One thing that surprises homeowners is how often the bones of the kitchen are still perfectly usable. In my own estimates across Rockland and Orange County, I'd say 7 out of 10 kitchens can be dramatically improved without moving a single plumbing line or tearing out every cabinet box. That's where the real savings live. Layout changes, wall moves, and utility relocations are what burn through a remodeling budget fast. Keeping the footprint and upgrading the tired, visible surfaces usually gets you the biggest payoff.
When folks call me about kitchen remodeling Rockland County NY projects, I tell them the same thing I'd tell my own family: spend money where your hands touch every day, where moisture causes damage, and where bad lighting makes the whole room feel older than it is. Save money on anything that's still structurally sound, level enough to work with, and not causing long-term problems. That's how you get a kitchen that looks better, works better, and doesn't leave you regretting every receipt.
Keep the Layout, Upgrade the Workhorses
Keep the plumbing and electrical in place when you can
The cheapest kitchen layout is the one that's already working. Moving a sink from one wall to another means new drain lines, venting, supply lines, patching floors, patching walls, and usually an electrician right behind the plumber. In a typical 10-by-12 or 12-by-14 kitchen, keeping the sink, dishwasher, and range on the same walls can save several thousand dollars before you even pick finishes. I always tell homeowners to stand in the room and think about traffic flow first. A 36-inch walkway is the bare minimum in a one-cook kitchen, and 42 inches feels much better if two people are in there at once.
Save the cabinet boxes if they're solid
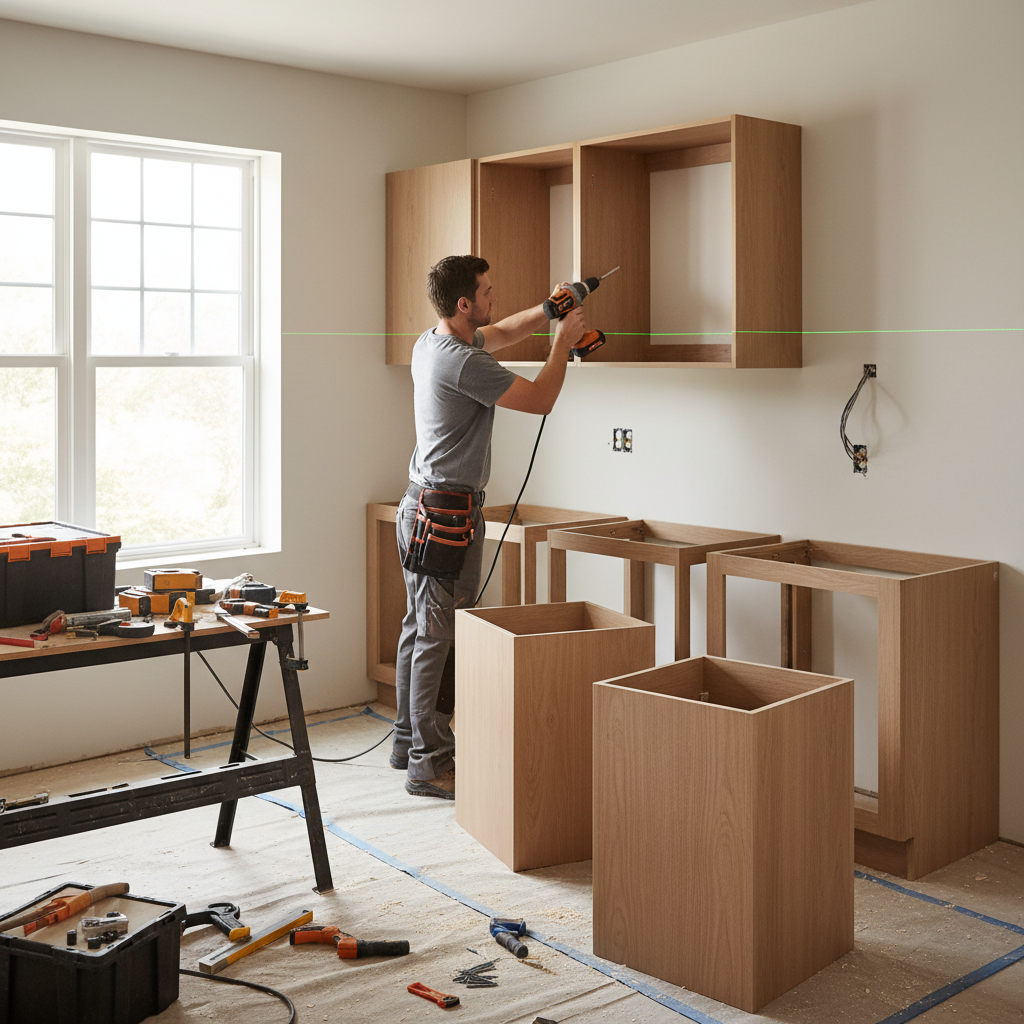
A lot of older cabinet boxes are better built than what you'd get at the low end of the big box stores today. If the frames are square, the bottoms aren't water-damaged, and the side panels aren't delaminating, keeping the boxes makes sense. We can tighten them to the wall studs with 2 1/2-inch cabinet screws, shim them level, add new soft-close Blum hinges, install full-extension drawer slides, and swap dated slab fronts for shaker-style doors. For painted cabinets, I've had good results with Benjamin Moore Advance and Sherwin-Williams Emerald Urethane Trim Enamel, but only after proper prep: degreaser, sanding with 120 then 220 grit, bonding primer, and dust control.
Upgrade drawers, hardware, and storage before replacing everything
People underestimate how much better a kitchen feels when the storage works. A Rev-A-Shelf pullout trash unit, a 9-inch spice pullout next to the range, and soft-close hardware can make an old kitchen feel custom without custom-cabinet pricing. Swapping old knobs for 5-inch or 6 1/4-inch brushed nickel or matte black pulls is quick and affordable, but I always drill with a cabinet hardware jig so every handle lands in the same spot. On drawers, I like full-extension undermount slides where budget allows, because homeowners notice that difference every single day.
Replace the countertop when the surface is the real problem
When a kitchen looks tired, it's often the countertop doing most of the visual damage. Old laminate with open seams by the sink, cracked tile tops, or worn cultured stone can drag the whole room down. Budget-friendly upgrades include new post-form laminate, butcher block, or entry-level quartz like MSI Carrara Marmi or Calacatta Idillio. Standard countertop height is 36 inches, and I like to check the cabinet tops for level before templating, especially in older homes where floors have settled. Even a quarter-inch out of level can show up once the new surface is installed.
Fresh backsplash, better caulk, cleaner lines
A simple subway tile backsplash can do a lot of heavy lifting in a budget remodel. A 3-by-6 ceramic tile with a 1/8-inch grout joint is timeless and forgiving, and a stacked mosaic behind the range can add a focal point without blowing the budget. I use a color-matched silicone at countertop joints instead of cheap painter's caulk in wet areas. That little detail lasts longer, looks cleaner, and keeps water from sneaking behind the wall where the expensive problems start.
Before spending money on new cabinets, empty the old ones and check the cabinet box bottoms under the sink and near the dishwasher. If those areas are dry, flat, and solid, you're often a good candidate for repainting or refacing instead of full replacement.
Homeowners often replace perfectly good cabinet boxes because the doors look dated. In many cases, new doors, drawer fronts, hinges, and paint deliver 80 percent of the visual improvement for a fraction of the cost.
What to Upgrade First and What to Leave Alone
Upgrade anything that deals with water first
In kitchens, water always wins. If the sink base is showing swelling, the faucet leaks at the base, the shutoff valves are frozen, or the dishwasher hookup looks patched together, that's where I put money first. A quality faucet like a Moen Arbor or Delta Leland isn't the cheapest line item, but it saves headaches and feels better every day. I also like replacing old basket strainers, supply lines, and worn angle stops while the sink is out. Those are small items compared to the cost of repairing a soaked cabinet floor later.
Spend on lighting because it changes the whole room
I've walked into plenty of kitchens with decent cabinets and ugly lighting, and the room felt worse than it really was. One center fixture isn't enough. Good budget upgrades include slim LED recessed lights, under-cabinet LED strips in the 3000K range for warm but clean light, and a brighter fixture over a table or peninsula. Under-cabinet lighting is one of those upgrades that homeowners don't think they need until it's installed. Suddenly the countertop looks new, the backsplash stands out, and the kitchen actually works at night.
Keep appliances if they're clean, reliable, and the finish works
Appliances eat budget fast. Unless you've got a failing refrigerator, a range with bad controls, or mismatched finishes that really drag the room down, keeping working appliances is a smart move. A standard slide-in or freestanding range opening is usually 30 inches, and a standard dishwasher opening is 24 inches wide, so staying with the same sizes avoids cabinet modifications. If the appliances are white and everything else is being updated, I usually advise either keeping the room light and clean around them or replacing them all at once later instead of mixing finishes one piece at a time.
Flooring is a maybe, not an automatic replacement
This is where homeowners can save real money. If the tile floor is sound and not cracked all over, or the hardwood can be refinished, I would rather put money into cabinets, counters, and lighting first. Even sheet vinyl that's flat and intact can sometimes stay until phase two, especially if the new cabinet footprint covers the old marks. When we do replace flooring on a budget, luxury vinyl plank with a solid wear layer is often the practical choice in family kitchens, but I still pay attention to dishwasher height and door clearances so nobody gets surprised after install.
Paint and trim make the expensive items look better
A lot of people want to jump straight to the flashy stuff, but fresh wall paint, crisp trim, and repaired drywall seams make every upgrade look more intentional. In kitchens, I like durable, washable finishes and I take the time to patch old fastener holes, settle cracks, and rough openings around window trim. You don't need a designer budget to make a kitchen feel finished. You need consistent lines, good light, and surfaces that look like somebody actually cared during installation.
When the budget is tight, put your first dollars into leak prevention, countertop condition, and lighting. Those three areas affect daily use more than decorative upgrades alone.
Keep appliance sizes the same whenever possible. A 30-inch range and 24-inch dishwasher are standard for a reason - once you change dimensions, you usually pay for cabinet, countertop, and electrical adjustments too.
Common Mistakes to Avoid
Chasing a magazine layout that doesn't fit the room
One of the biggest mistakes I see is trying to force an island into a kitchen that doesn't have the clearance. Homeowners see a pretty photo online and want the same thing, but in a lot of Rockland and Orange County homes, the kitchen footprint just isn't there. If you can't maintain at least 36 inches around the island, and preferably 42 inches in main work zones, the kitchen gets tighter and more frustrating than what you started with. A small rolling cart or a better peninsula setup often makes more sense.
Buying finishes before checking the structure
I've seen homeowners order cabinets, backsplash tile, and counters before anybody checks whether the walls are plumb, the floor is level, or the old wiring is safe to build around. That's backwards. In older kitchens, I always check for out-of-square corners, floor dip near exterior walls, and hidden water damage around windows and sink bases. A beautiful quartz top won't sit right on bad cabinets, and a tile backsplash won't save a wall that's moving or damp.
Going cheap in the wrong places
There's nothing wrong with saving money. I do it for clients all the time. But there's a difference between smart savings and cheaping out where failure is likely. Low-end hinges, bargain faucet cartridges, thin paint without prep, peel-and-stick backsplash behind a range, and particleboard panels near a leaky sink usually don't age well. Spend less on trendy finishes if you need to, but don't gamble on the parts that handle heat, moisture, and constant use.
Forgetting lead times and the order of work
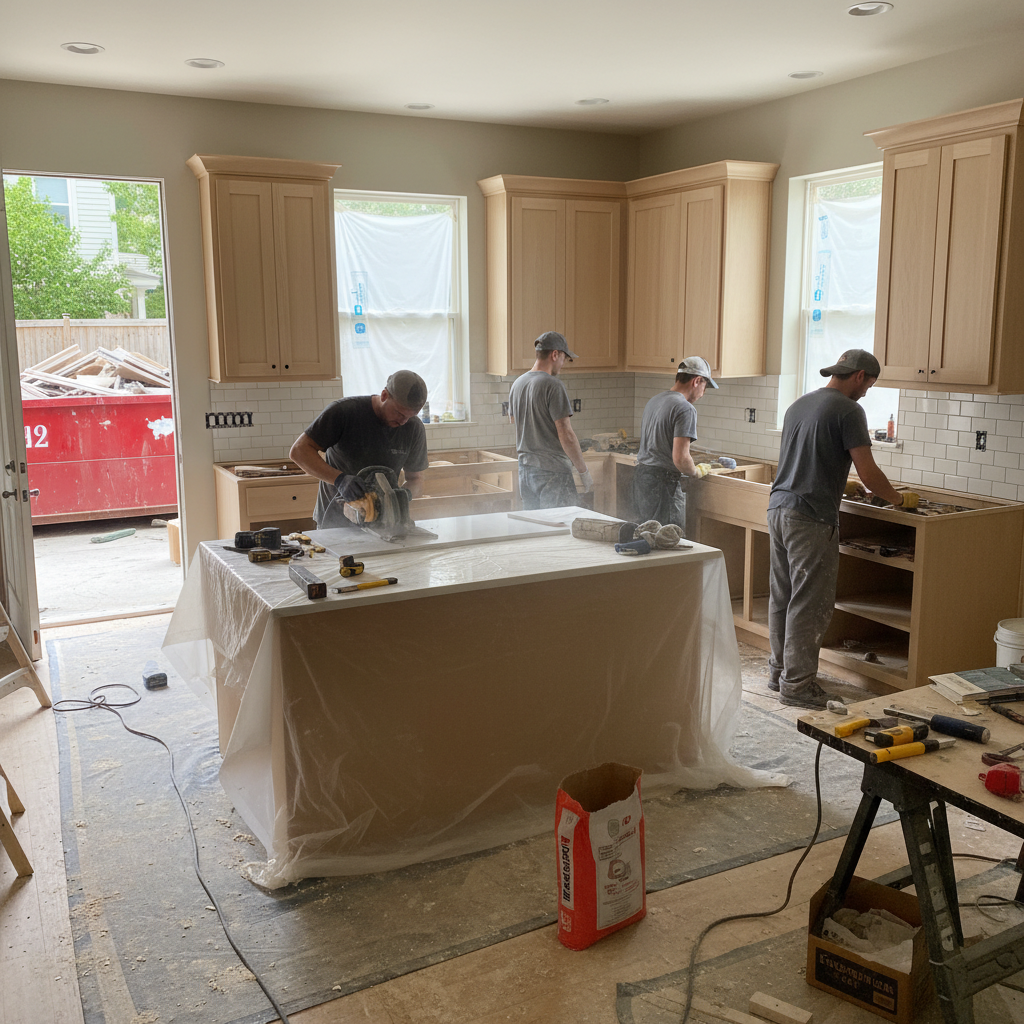
Another mistake is assuming every material is sitting on a shelf ready to go. Cabinet doors, quartz fabrication, specialty pulls, and even decent faucets can delay a job if you don't plan ahead. The right order matters too: demo, rough repairs, electrical and plumbing updates, cabinet work, counters, backsplash, finish plumbing, and touch-up painting. When homeowners piece those steps together out of order, the project drags on, and that usually costs more in the end.
Have the room measured by the person doing the installation, not just the person selling the materials. In older homes, field measurements catch floor slope, wall bow, and trim conflicts that paper plans miss.
Before ordering anything custom, invest in a small exploratory check under the sink, behind the dishwasher, and at the floor transitions. Finding damage early is cheaper than discovering it after materials are already cut.
Cost Breakdown: What to Expect
Budget refresh versus full replacement
For a modest budget kitchen remodel where you keep the layout, repaint or reface solid cabinets, replace counters, update hardware, add backsplash, and improve lighting, most homeowners in Rockland and Orange County land somewhere around 12000 to 28000 dollars depending on size and finish level. A more stripped-down cosmetic refresh with paint, hardware, lighting, faucet, and minor repairs can sometimes be done in the 5000 to 12000 dollar range. Once you start replacing all cabinets, moving plumbing, or opening walls, it's easy to climb past 30000 dollars and keep going.
Typical material and labor ranges in this area
Cabinet painting by a pro usually runs about 3500 to 8500 dollars depending on door count, prep condition, and whether doors are sprayed offsite. New stock or semi-custom cabinets for a standard kitchen can range from 7000 to 18000 dollars before installation. Laminate countertops might run 35 to 60 dollars per square foot installed, butcher block around 60 to 100, and quartz commonly 70 to 120 or more installed. Tile backsplash labor often falls around 12 to 22 dollars per square foot in Rockland and Orange County, depending on tile type and wall condition. For labor rates, a solid handyman or carpenter might be 85 to 125 dollars per hour, licensed electricians often run 110 to 150 per hour, and plumbers commonly land in the 125 to 175 per hour range.
DIY costs versus professional costs
DIY saves money mainly on demolition, painting, hardware swaps, and maybe basic trim work if you've got the patience and tools. A homeowner might spend 400 to 1200 dollars painting cabinets on their own, but the finish quality usually comes down to prep, drying space, and dust control. Countertops, electrical work, plumbing changes, and tile layout around outlets and uneven walls are where pro help usually pays for itself. I've fixed plenty of budget remodels where the homeowner saved 1500 dollars up front and spent 3000 correcting crooked tile, chipped counters, or wiring that had to be redone.
Hidden costs people forget to plan for
The sneaky items are disposal, delivery charges, permits where required, replacement shutoff valves, GFCI upgrades, drywall patching, and leveling work under cabinets or flooring. In some towns, even a simple kitchen remodeling Rockland County NY project can trigger permit requirements if you're altering electrical or plumbing. I usually tell homeowners to hold back a 10 to 15 percent contingency, especially in pre-1970s homes. That's not scare talk - that's just experience. The houses around here have a way of revealing one more surprise once the old materials come off.
Use your budget in phases if needed: first fix leaks and lighting, then counters and backsplash, then appliances later. A phased plan usually looks better than spreading the money too thin everywhere at once.
After the remodel, keep sink caulk, faucet bases, and dishwasher connections checked twice a year. Catching small leaks early can save cabinet boxes, flooring, and drywall from expensive damage.
📍 How This Applies to Homes in Rockland & Orange County
Kitchen remodeling in Rockland and Orange County has its own set of realities, and the houses tell the story. In Nanuet, Spring Valley, Suffern, Nyack, and New City, I work in plenty of older pre-1970s homes where the kitchen layout was designed for a different way of living. Smaller footprints, uneven plaster walls, settled floors, and undersized electrical service are common. Over in Middletown and Newburgh, you see the same thing in a different mix - older colonials, capes, ranches, and split-levels that are solid overall but need smart updating instead of automatic gut renovation.
The Hudson Valley climate matters more than people think in a kitchen. Harsh winters and freeze-thaw cycles can shift old framing just enough to throw cabinets and countertops out of level. Spring moisture has a way of showing up around exterior walls, window trim, and mudroom-adjacent kitchens, especially when snowmelt and rain hit back to back. Then summer humidity rolls in, and suddenly that sticky drawer or swelling sink-base panel makes a lot more sense. A budget remodel here has to account for movement and moisture, not just looks.
That's why I push durable finishes and careful prep in local homes. In this area, I want sink bases sealed well, countertop joints properly caulked, backsplashes finished tight, and ventilation taken seriously. A decent range hood and good under-cabinet lighting do more than make the kitchen pretty - they help with moisture, cooking residue, and everyday wear. In older homes around Nyack or Newburgh, I also pay close attention to what we're covering up. Old leaks, soft subfloor near a dishwasher, and ungrounded outlets don't get better by ignoring them.
For homeowners planning kitchen remodeling Rockland County NY work on a budget, the smartest approach is usually to respect the house. Keep the layout when it works, upgrade the surfaces that take the beating, and choose materials that can handle real Hudson Valley seasons. Done right, a budget kitchen in this region doesn't feel like a compromise. It feels like a well-run project that understood the house from the start.
Frequently Asked Questions
Ready to Get Started?
Get Your Free Estimate Today
Serving Rockland County & Orange County, NY. Professional results, guaranteed.
Request a Free Estimate →