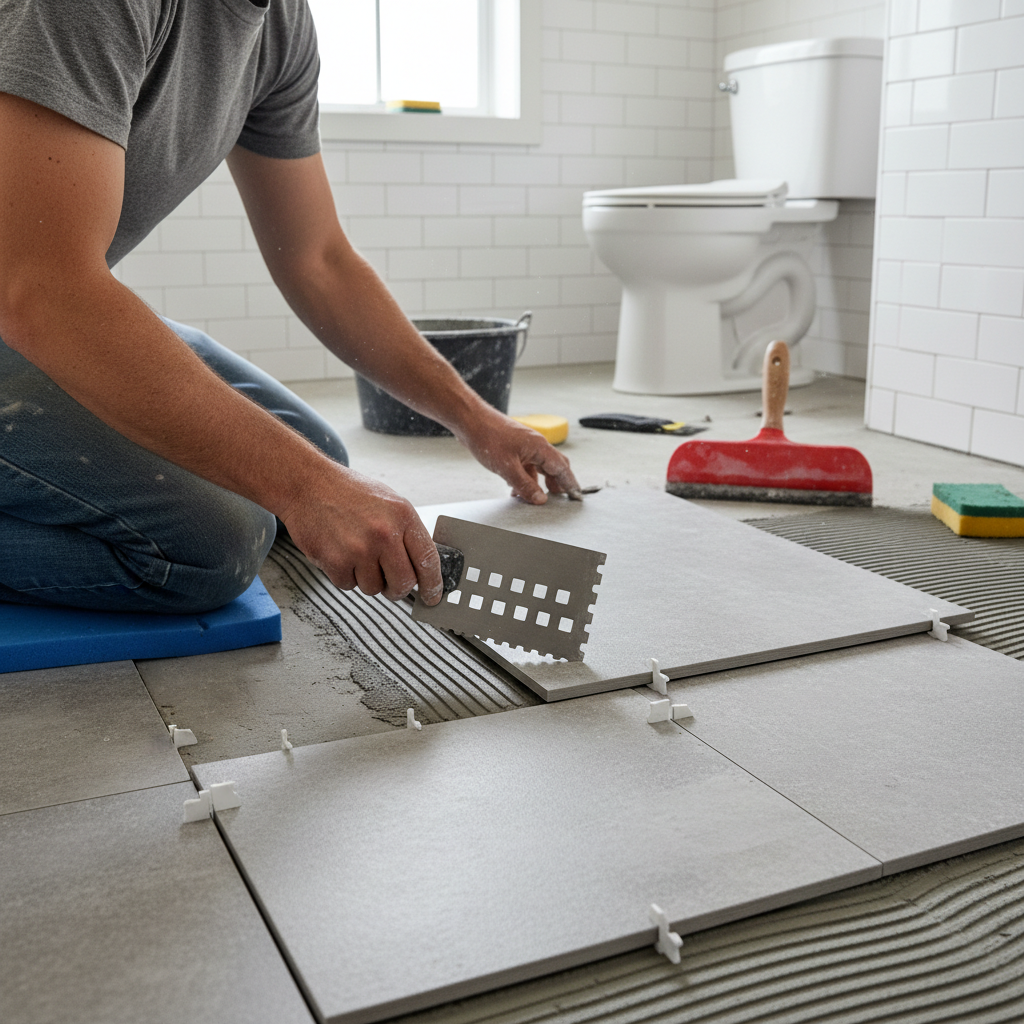
Saturday morning, a homeowner in Middletown pulled me into a kitchen with brand-new vinyl plank that looked great from the doorway and awful once you walked it. Every few steps, the floor clicked underfoot, one seam near the dishwasher had started to lift, and the planks in front of the slider had already drifted apart. The material wasn't the real problem. The problem was underneath it: a wavy subfloor, no moisture check, and an installer who figured click-lock meant foolproof.
Around Rockland and Orange County, I see that story all the time. More than half the LVP failures I get called to fix have nothing to do with the brand on the box. They come from rushed prep, bad layout, skipped expansion gaps, or trying to float a floor over conditions it was never meant to handle. In older Hudson Valley homes, especially pre-1970s houses in places like Nyack, Newburgh, and Spring Valley, the floor can be out of flat by a quarter inch before you even open the first carton.
The good news is LVP can be one of the smartest flooring choices you can make when it's installed the right way. It's durable, easy on the budget compared with hardwood, and forgiving for busy houses with kids, dogs, muddy boots, and wet winters. But there's a right product for the room, a right way to prep the subfloor, and a right way to install it so it doesn't turn into a callback six months later. That's what this guide is about.
Choosing the Right LVP for Your Home
A lot of homeowners shop LVP by color first, and I get it. You want something that looks good with your cabinets, trim, and wall color. But from an installer's standpoint, the first things I look at are thickness, wear layer, locking system, and whether the floor is going over plywood, OSB, concrete, or an older mixed subfloor. For most main-floor living areas, I like a plank that's at least 5mm total thickness with a 12 mil wear layer minimum. In busier homes, especially with dogs and a lot of traffic, stepping up to a 20 mil wear layer is money well spent.
Wear Layer, Core, and Brand Quality
Not all "waterproof" LVP is built the same. A budget big-box plank at 4mm with a thin lock edge may work in a low-traffic spare room, but it's not what I'd choose for a busy kitchen in New City or a family room in Nanuet. Products like Coretec Plus, Shaw Floorte, Mannington Adura Max, and better Lifeproof lines tend to have more reliable locking profiles and better dimensional stability. SPC cores are stiffer and great over minor imperfections, while WPC feels a little warmer and softer underfoot. Either one still needs a properly prepped floor.
Pick the Right Size and Style for the Room
Most LVP planks run roughly 7 to 9 inches wide and 48 to 60 inches long. Wider and longer planks look great, but they also telegraph subfloor problems faster. On an older second floor with some bounce, I often steer homeowners toward a slightly shorter or narrower plank because it locks together more predictably. Embossed-in-register textures also do a better job hiding dust and small scuffs than a super-smooth finish.
Match the Product to the Space
Bathrooms, mudrooms, kitchens, basements, and rental properties are where LVP really shines, but you still need to read the manufacturer's instructions. Some planks allow installation under vanities, some don't. Some require a 6-mil poly vapor barrier over concrete, some have an attached pad and specifically tell you not to add another soft underlayment. That's a detail people miss all the time. Too much cushion under a floating floor can cause joint failure.
Think Past the Plank
Good installation also means planning transitions, trim, and door clearances before you buy. I like to know whether we're using T-moldings at room breaks, reducer strips at tile transitions, and quarter-round or full baseboard reset at the perimeter. A plank might look like a bargain until you add matching stair noses, end caps, and transition pieces, which can run $35 to $70 each depending on the brand.
For a busy household, I'd rather see you buy a solid mid-grade plank with a 20 mil wear layer than overspend on a trendy color in a flimsy 4mm product.
Homeowners often add extra foam underlayment under an attached-pad LVP floor. In many systems, that makes the locking joints flex and fail.
How LVP Installation Really Works
The best LVP jobs are won before the first plank goes down. I start by checking the subfloor with a 6-foot level and, ideally, a 10-foot straightedge. Most manufacturers want the floor within 3/16 inch over 10 feet or 1/8 inch over 6 feet. That's not a suggestion. That's the difference between a floor that feels solid and one that clicks, shifts, or breaks at the seams. On plywood or OSB, I patch low spots with something like Ardex Feather Finish or Henry 549. On concrete, I may grind high spots and use a self-leveling underlayment where needed.
Acclimation and Moisture Checks
Even though many LVP products are more stable than laminate or hardwood, I still like the material in the house for at least 24 to 48 hours when possible, especially during a cold Hudson Valley winter or humid summer stretch. Interior temperature should usually be in the 65 to 85 degree range, depending on the manufacturer. On concrete slabs, I check moisture before anything else. That may mean a calcium chloride test or a meter reading, plus a 6-mil poly vapor barrier if the instructions call for it. Skipping that step is how you get moldy smells, cupping at the edges, or soft underlayment problems later.
Layout, Cuts, and Expansion Gaps
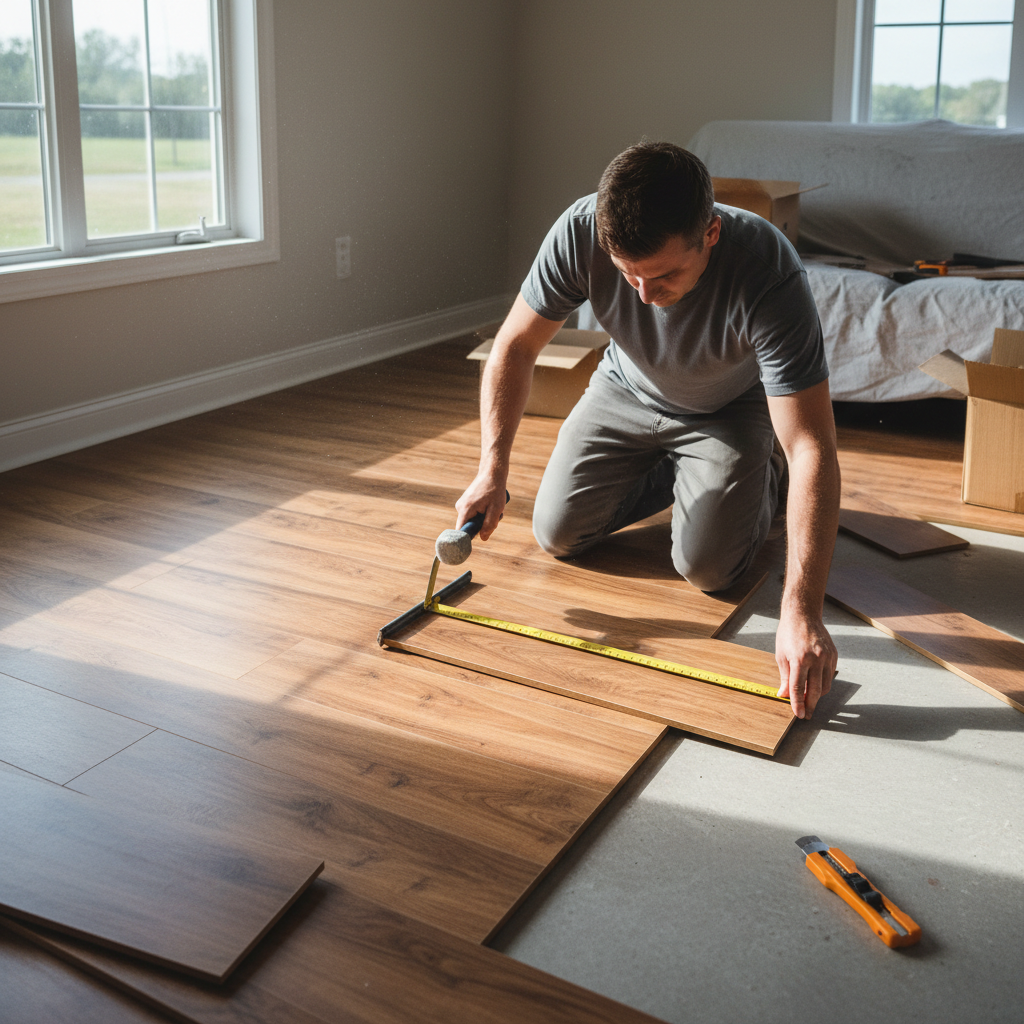
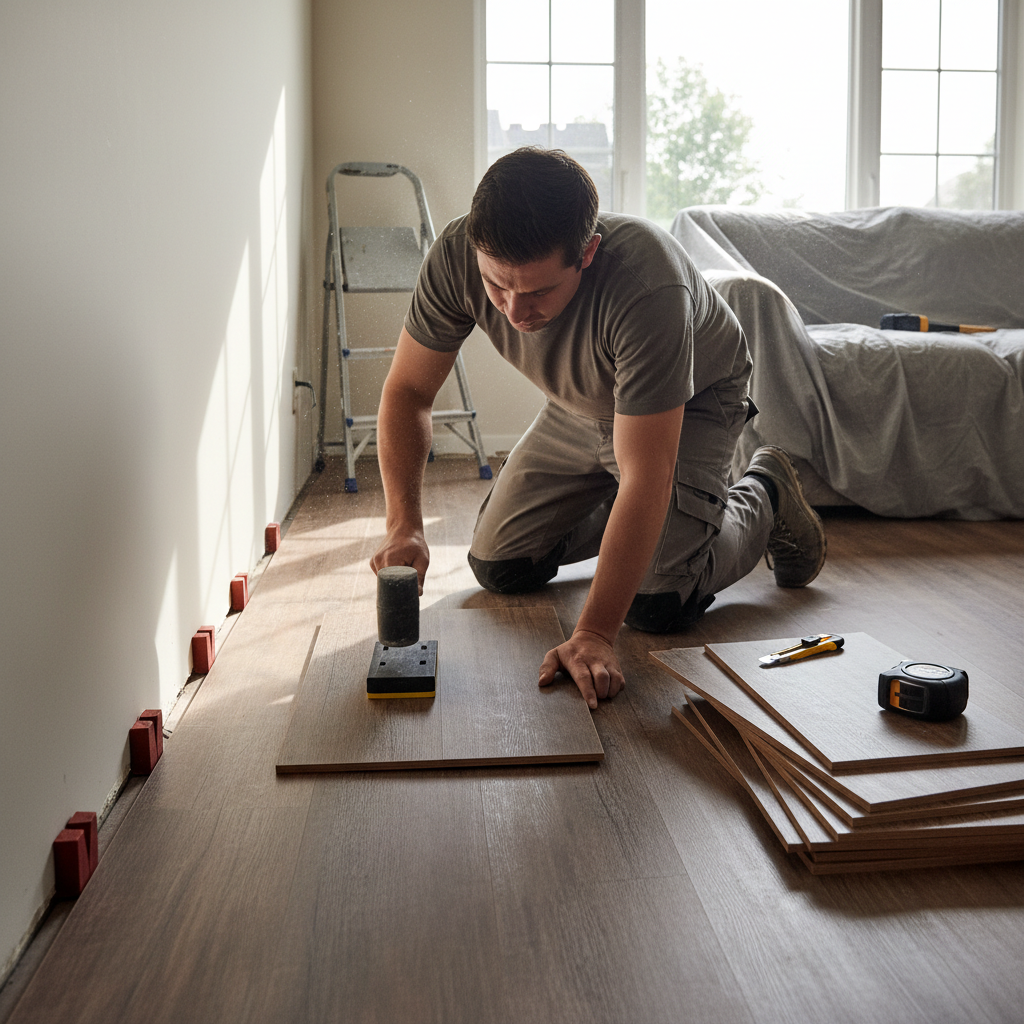
Once the floor is flat and clean, I map out the layout so we don't end up with a skinny one-inch rip along the far wall. I like to dry-plan the room width first, then split cuts so both sides look balanced. Expansion gaps matter too. Most floating LVP floors need about a 1/4 inch gap at walls, cabinets, pipes, and fixed objects. I use spacers, undercut the door jambs with a jamb saw or oscillating tool, and keep the perimeter clean so the floor can move without binding.
Installing the Planks the Right Way
Rows should be staggered according to the manufacturer, commonly at least 6 to 8 inches, and I prefer more like 10 to 12 inches when plank length allows. End joints shouldn't create obvious stair-step patterns. I use a tapping block made for vinyl plank, a pull bar at finish walls, and a sharp utility knife or flooring shear for clean cuts. The key is not forcing the lock. If a board doesn't seat cleanly, something's off with the angle, the tongue, or debris in the joint. Forcing it usually cracks the edge.
Final Details That Separate a Good Job From a Bad One
After install, I check every transition, remove spacers, reinstall baseboard or add shoe molding, and make sure heavy appliances are moved back without stressing the floor. Refrigerators with tiny rollers and islands sitting on a floating floor can create trouble if the product wasn't designed for that condition. The last 5 percent of the job is where a lot of sloppy installs show themselves, and it's usually the part homeowners notice every single day.
Before installation, vacuum the locking edges and the subfloor twice. A few grains of grit trapped in a click joint can keep a plank from fully seating.
A common DIY mistake is starting the floor without checking room width first, then getting stuck with a sliver cut against the final wall.
Common Mistakes to Avoid
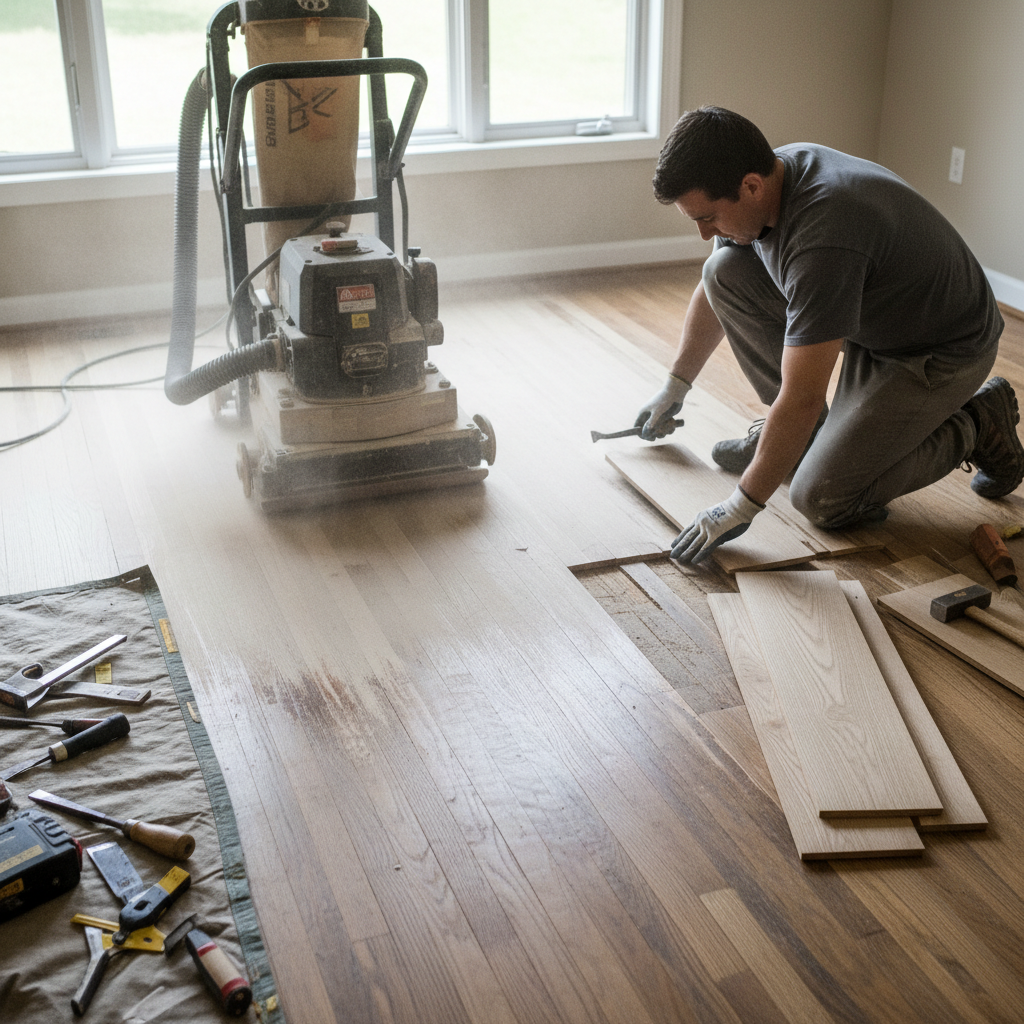
The biggest mistake I see is treating LVP like a magic product that hides a bad floor. It doesn't. A floating plank floor follows what's underneath it, and sooner or later every dip, hump, loose panel, and soft spot starts talking back. On older floors, especially over plank subflooring or patched plywood, I screw down squeaks first, replace damaged sections, and flatten the surface before installation. That's boring prep work, but it's the difference between a floor that lasts and one that starts separating.
Another mistake is ignoring moisture because the carton says waterproof. Waterproof refers to the plank itself, not the entire floor assembly. Water can still get under the floor from a damp slab, a dishwasher leak, a washing machine overflow, or spring seepage near a basement wall. Once moisture gets trapped underneath, you can wind up with odor, mold growth, stained subfloors, or swollen trim. In basements or slab-on-grade areas, I never assume conditions are dry just because the floor feels dry on the surface.
Homeowners also get tripped up by furniture and fixed objects. Most floating LVP floors should not be pinned under heavy built-ins, cabinets, or islands unless the manufacturer specifically allows it. I've seen jobs where kitchen cabinets were installed on top of the plank, and the floor had nowhere to move when summer humidity hit. That usually leads to buckling or tight, noisy seams. The same goes for forgetting expansion space at fireplace surrounds, sliding door tracks, and metal posts.
Then there's pattern and plank management. Pulling from one box at a time can create repeating grain patterns that look fake fast. I like to open three or four cartons and blend boards as I go. I also inspect every plank before it locks in. Once the floor is down, it becomes harder to argue with a manufacturer about a chipped corner or print defect that should've been caught during install.
Last one: rushing the finish work. Baseboard, transitions, caulking at tubs, and proper appliance reset matter. A perfectly installed field of flooring can still look amateur if the trim is sloppy or the transition to tile is a trip hazard.
On any pre-1970s home, budget time for subfloor correction before you budget for plank. That's where most problem jobs are won or lost.
Keep your existing baseboards if they're in good shape. Removing and reinstalling them usually looks better than adding new quarter-round everywhere, and it can save on material costs.
Cost Breakdown: What to Expect
For material alone, most homeowners in Orange County and Rockland County are looking at roughly $2.00 to $3.00 per square foot for entry-level LVP, $3.00 to $5.50 for a solid mid-grade product, and $5.50 to $7.50 or more for premium lines with better wear layers, attached pads, and matching trims. A 200 square foot bedroom might be done with budget material for under $1,000 in product and supplies, while a 700 square foot main level with better plank, transitions, and trim can climb quickly into the mid-thousands.
DIY costs look cheaper on paper, but homeowners should factor in more than the plank. Add blades, spacers, tapping block, pull bar, moisture barrier, patching compound, transition strips, and maybe a flooring shear or oscillating tool. Realistically, most DIY installs land around $3.00 to $7.50 per square foot all-in if the subfloor is already decent. Once you start buying self-leveler, replacing subfloor, or redoing mistakes, the savings narrow fast.
For professional installation in Rockland and Orange County, I typically see labor for straightforward click-lock LVP running about $3.50 to $6.00 per square foot in Orange County and about $4.00 to $6.50 per square foot in much of Rockland County, depending on room layout, furniture, stairs, and how much prep is needed. Demo and disposal of old flooring can add $1.50 to $3.50 per square foot. Subfloor patching may run $0.75 to $2.50 per square foot for minor prep, while self-leveling or more involved correction can push $2.00 to $5.00 per square foot. Baseboard removal and reset is often priced separately, commonly $1.50 to $3.00 per linear foot, and stair treads with matching noses can run $45 to $85 per tread.
Sample Price Range
A clean 300 square foot install in a ranch home in Middletown with minimal prep might come in around $2,400 to $4,200 total with decent mid-grade material and labor. The same size project in an older Nyack or New City home with floor flattening, door trim work, and multiple transitions may land more in the $3,800 to $6,000 range. That's why two quotes for the same square footage can be wildly different. One guy is pricing the real prep. The other guy is hoping the floor behaves.
Where the Money Goes
The hidden costs are usually prep, trim, and transitions, not the planks themselves. When a quote seems unusually cheap, ask exactly what's included: furniture moving, demo, disposal, moisture barrier, floor patching, undercutting jambs, baseboard reset, and haul-away. That conversation saves a lot of headaches later.
If you're flooring multiple connected rooms, doing them at the same time usually lowers your per-square-foot cost because setup, transitions, and labor are more efficient.
Use felt pads on chairs and furniture right away. It's a cheap step that prevents edge damage and finish wear, especially on dining room floors.
📍 How This Applies to Homes in Rockland & Orange County
LVP makes a lot of sense in the Hudson Valley, but our local conditions change how I approach the install. Harsh winters, freeze-thaw cycles, spring moisture, and sticky summer humidity all affect subfloors and the air inside the house. In January, I can walk into a house in Suffern or Newburgh where the heat has been cranked up for weeks and everything's bone dry. Come July, that same floor system has picked up moisture and movement. That's why I pay close attention to acclimation, expansion gaps, and manufacturer temperature ranges instead of rushing planks straight from a cold garage onto the floor.
Older pre-1970s homes in towns like Nyack, Spring Valley, and New City often have uneven framing, patched plywood, diagonal plank subfloors, or layers of old sheet goods under the existing floor. Those homes can absolutely take LVP, but they usually need more prep than homeowners expect. Sometimes it's simple feather-finish patching. Sometimes it's screwing down loose panels every 6 to 8 inches along the joists, replacing soft areas near old radiator lines, or adding new underlayment-grade plywood to create a flatter surface.
Spring moisture is another big local issue, especially in lower-level spaces and homes with marginal drainage. I've seen basement and first-floor slab installs in Middletown and Newburgh where the owner thought the space was dry because there wasn't standing water. Then we test the slab and find elevated moisture vapor. That's where the right vapor barrier, perimeter sealing details, and honest conversation about whether the room is truly ready for flooring matter a lot.
In busier suburban homes around Nanuet, New City, and parts of Orange County, LVP is popular because it handles kids, pets, and wet boots better than a lot of other options. It works especially well in kitchens, mudrooms, and finished basements, as long as the floor is prepped properly. Around here, I tell homeowners the same thing every time: don't judge the success of an LVP floor by how it looks on install day. Judge it by how it handles one Hudson Valley winter, one wet spring, and one humid summer without coming apart.
Frequently Asked Questions
Ready to Get Started?
Get Your Free Estimate Today
Serving Rockland County & Orange County, NY. Professional results, guaranteed.
Request a Free Estimate →